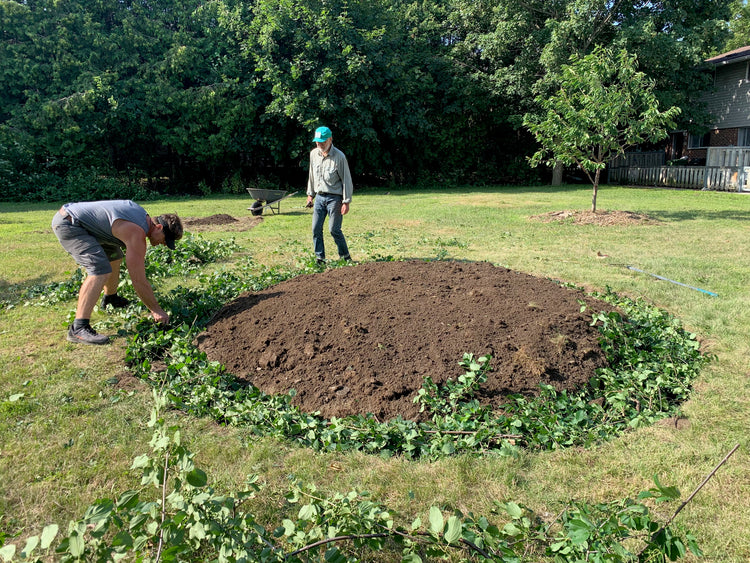
We're so excited you've decided to plant a Pocket Forest, becoming part of the web of reciprocity we need so Kingston can grow into a flourishing, beautiful, equitable, climate resilient City in a Forest. Here are a few tips to help you prepare and plant your Pocket Forest.
How much space is needed?
Pocket Forests flourish in as little as 3 square metres. You can plant next to your house (it's a myth that roots damage foundations or break pipes!)
Where to plant
We can help you choose an ideal location based on your goals. Read designing your Pocket Forest to learn more.

An important constraint, especially in front yards, are below and above ground utilities. Before planting or finalizing the design of your Pocket Forest, get a free locate from Utilities Kingston.
If you're planting near utilities, Hydro Ottawa recommend the following offsets:
- 3 metres (or more) from your house (.75 to 1.5m metres with a bioshield)
- 1.5 metres (or more) from underground utilities
When to plant
Spring or Fall are ideal with cooler temperatures and more rainfall, but summer is fine if you don’t mind watering more often!
How to prepare the forest floor

You can prepare the forest floor a few months in advance (a good practice especially if your soil is poor or there are invasive species on site, but not essential):
- Cover the area with cardboard (removing tape and staples)
- Top with compost (1 bag of compost per square metre) and 7-10cm layer of mulch (arborist woodchips, straw, or hay)
How to plant your pocket forest

If you prepared the forest floor in advance, planting is easy:
- Dig a hole, moving the mulch layer out of the way as best you can. Dig each hole just deep enough so that the top of the root ball is level with the surrounding soil level (make sure you're not planting in the mulch!)
- Remove the tree from their container, gently loosen the root ball (if necessary), and dab some mycorrhizal fungi powder onto the roots.
- Place the tree in the hole, and return the excavated soil back into the hole, pressing down firmly with your hands so that the tree is stable. Don't use your feet to press down, this will compact the soil and make it hard for the roots to move through the soil.
- Replace the mulch layer, leaving space (approximately 7cm) around the stem of the tree.
- Place a locate flags beside each tree to ensure they're visible and to support tree wraps during the winter.
If you'd like to plant right away without preparing the forest floor in advance:
- Dig a hole for each tree. If you have existing lawn, keep the chunks of sod you dig up.
- Plant your tree (same method as above), but break up your sod chunks and place them face down, around the roots of the trees, along with any excavated soil.
- Surround the trees with a layer of cardboard to smother the turfgrass.
- Top the area surrounding each plant with cardboard, then .5-1” compost layer compompost l and a 7-10cm layer of arborist woodchips (or straw/hay/old leaves instead of woodchips). Leave approximately 7cm around the tree stem without mulch.
If you'd like our help
- We want your Pocket Forest to be a success! In addition to providing detailed preparation and planting instructions, we’ll visit your site and help you design your pocket forest. You can also contact us anytime with questions.
- We’re also happy to help you plant, or will even do the planting for you!
Where to source materials
Trees, mycorrhizal fungi, and detailed planting instructions
- Little Forests Kingston
- Arborist woodchips, NOT the bark mulch available at most landscaping depots (free at Eco Tree Care at 2375 Highway 15 North, Kingston)
- Straw
- Rileys
- Glenburnie Grocery
- Dry leaves
- Available in your neighbourhood each fall
- Spiral tree wraps
- Canadian Tire and other similar stores
- Bobbex
- Canadian Tire and other similar stores
- Flags
- Construction supply stores (Home Depot, Battlefield, Cooper Rentals)

